How to Test an Electric Bike Controller at Home
In recent years, e-bikes have become increasingly popular in most urban areas. They make commuting an easy experience. E-bikes use relatively smart technology. They have controllers, batteries, electric drive systems and motors. All these components make e-bikes more complex and expensive than regular bikes.
The e-bike controller is the key component of any e-bike. Without a controller, the motor will not run; therefore, the bike will not start. If your e-bike controller suddenly malfunctions, how would you recognize the problem? What are the methods or procedures to follow when testing your e-bike controller? Does the e-bike controller need to be replaced or repaired?
In this article, we’ll take a look at the e-bike controller and how to test it to see if it’s working properly. Read on to find out more.
What is an e-bike controller?
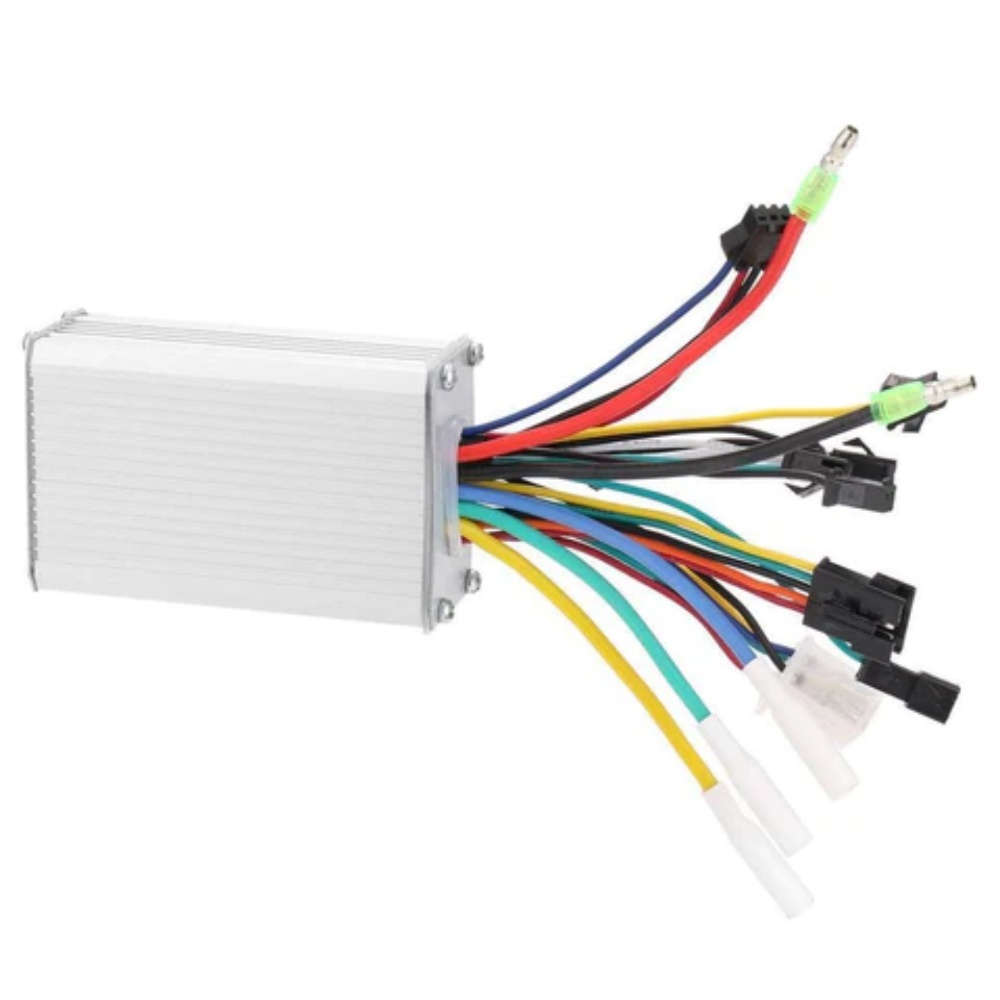
 The e-bike controller acts as the brain of the e-bike; it is the circuit unit responsible for controlling the other bike components. It controls the speed of the motor as well as the start and stop functions. The e-bike controller connects to every electronic component of the bike, such as the throttle, battery, display, motor, and speed sensor.
A controller is a unit that includes a main chip (microcontroller) and peripheral components (sensors, resistors and MOSFETs). Inside the e-bike controller are signal processing circuits, AD circuits, power device driver circuits, PWM generator circuits, overcurrent protection circuits, power supply circuits, and undervoltage protection circuits.
Functions of E-bike Controller
The main function of the e-bike controller is to accept input signals from the electronic components (speed sensor, throttle, motor, battery, display) and then determine the signals returned to each component. It also controls all the central safety and protection mechanisms of the e-bike. These protection functions include:
1. Over-current protection
If the current is too high, it reduces the current flowing to the motor. The controller checks the amount of current supplied to the motor. It automatically shuts down the motor if excessive current is generated. This function protects the e-bike motor and FET.
2、Over voltage protection
Turns off the motor when the voltage is too high. It prevents overcharging. The controller regularly monitors the signal from the battery. When the voltage is too high, it sends a signal to the motor to shut down the e-bike.
3、Low voltage protection
Turns off the motor if the battery voltage is too low. It prevents over-discharge. The working principle is similar to the above over-voltage protection, but when the battery generates a low voltage.
4、Brake protection
Turns off the motor when braking. It prioritizes the braking system for the safety of the rider. When the brake is applied, it sends a signal to the motor to shut down and stop the bike. This is a higher priority signal than others.
5. Over Temperature Protection
Shuts down the motor if the temperature is too high. The e-bike controller is responsible for tracking the temperature of the field effect transistors (FETs). These transistors carry the power. When the FET temperature gets too high, the controller sends a signal to shut down the motor to avoid short-circuiting the transistors.

How to Test Your E-Bike Controller at Home
Basic e-bike troubleshooting is a skill every cyclist should have. For example, learning how to test an e-bike controller at home can prevent your bike from grounding out. There are two ways to test an e-bike controller:
1. using a multimeter
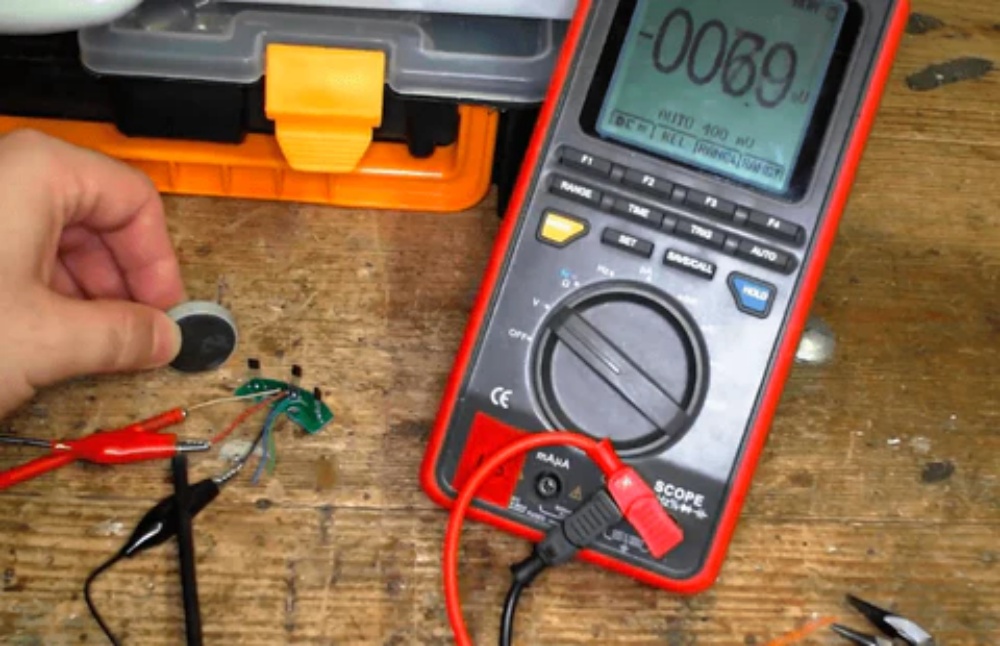
This method is more technical than using an e-bike tester; you will need a multimeter, controller, and batteries. Below is a step-by-step guide on how to test your e-bike controller using a multimeter:
Step 1: Connect the controller to the battery.
Step 2: Set the multimeter to read. This depends on what you want to test: resistance or continuity.
Step 3: To test continuity, set the multimeter to continuity. Connect the black multimeter cable to the negative terminal of the battery.
Step 4: Test each line coming out of the controller. If you hear a beep, a short circuit exists in the line.
Step 5: Set the multimeter to resistance mode to test for resistance.
Step 6: Repeat the process for continuity; except, in this case, you should read the number displayed on the multimeter.
If the reading is below eight thousand ohms, the wiring is damaged or not working.
2. Using an e-bike tester
Electric Bicycle Tester
Using an e-bike tester is more beneficial because you will also be testing the controller and all the components of the bike. There are different varieties of e-bike testers available in the market. Here is a step-by-step guide on how to test your e-bike controller using an e-bike tester:
Step 1: Remove the e-bike controller from the bike.
Step 2: Disconnect the throttle from the bike and connect it to the e-bike controller. This is to confirm that the controller is receiving a signal from the throttle.
Step 3: Connect the e-bike tester to the controller.
Step 4: Turn on the bike tester.
Step 5: Open the throttle and observe the signal on the controller.
If the tester light is blinking, it is working. If only the center light blinks, you have a problem with your controller.
 E-bike controller FAQs
Why does my e-bike keep stalling?
There is no specific and direct answer to this question because an e-bike stalling can be caused by a variety of malfunctions, such as a drained battery, loose connection, low battery, worn out motor, and so on. But the main cause is low battery or motor voltage.
How to choose a controller for my bike?
When purchasing a controller for your bike, make sure that the controller voltage is the same as the motor voltage and the controller power is the same as the motor power. However, if you buy a controller for a specific motor, please double check the power and voltage of the controller.
How long is the service life of an e-bike controller?
On average, the service life of an e-bike controller is about 3-4 years, similar to that of a motor and battery. Use a multimeter to test the voltage flowing through the terminals to determine if it needs to be replaced.
How do I reset my e-bike controller?
The process of resetting your e-bike controller may vary slightly depending on the manufacturer, but here are some general steps for you to follow:
Turn off your e-bike and disconnect the e-bike’s battery
Wait a few seconds (at least 10 seconds) and then plug the battery back in
Restart the e-bike and check that the e-bike controller has been reset
How do I know if my e-bike controller is damaged?
There are several signs that your e-bike controller may be damaged, here are some things to look out for:
Motor is not working properly
The display or lights are not working
Problems charging the battery
The e-bike controller is too hot
Conclusion.
In general, you can test your e-bike controller at home using a multimeter or an e-bike tester. When using a multimeter, you can perform two tests:
Resistance test: this measures how much resistance there is, if the multimeter reads less than eight thousand ohms, you can tell there is damage.
Continuity test: this will show you if a short circuit has occurred by peeking through.
If the light in the center comes on, you will know if there is a problem with your e-bike controller. However, if it is working properly, all five lights will flash continuously. We hope you found this article informative. Now that you have the skills, you can confidently test your e-bike controller at home.
Have any questions? Drop us a line below! Let our well-designed Electric Bike and quality outdoor accessories take you on a journey to explore nature and unleash your passion for unlimited adventure!
 Shuangye ebike
